Removing the bearing screw on the DAM Quick Standard
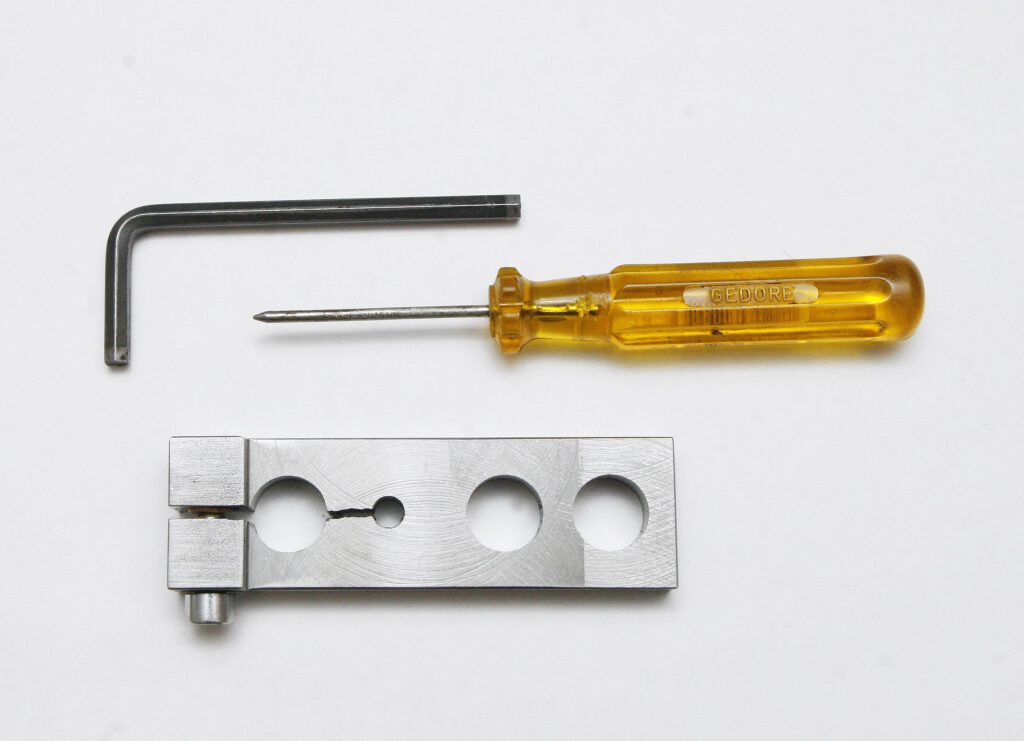
Zum schonenden demontieren der Lagerschraube, im hinteren Gehäuseteil der DAM Quick Standard, benötigt man drei Werkzeuge. 2 davon müsst ihr Euch selbst anfertigen. Einmal einen Lochschlüssel zum festhalten der Gegenmutter und ein Klemmwerkzeug zum klemmen der Lagerschraube. Ich habe mir ein solches Klemmwerkzeug, mal gefräst und gebohrt, aus Edelstahl V4A. Es geht aber auch mit einer Feile und einer Bohrmaschine, wenn man es aus Holz oder Aluminium herstellt. Das hängt davon ab, wie oft man das Werkzeug wirklich braucht?
To carefully remove the bearing screw in the rear housing of the DAM Quick Standard, you need three tools. You’ll have to make two of them yourself: a pin wrench to hold the lock nut and a clamping tool to clamp the bearing screw. I made such a clamping tool by milling and drilling it from V4A stainless steel. You can also use a file and a drill, or make it from wood or aluminum. It depends on how often you’ll need the tool.
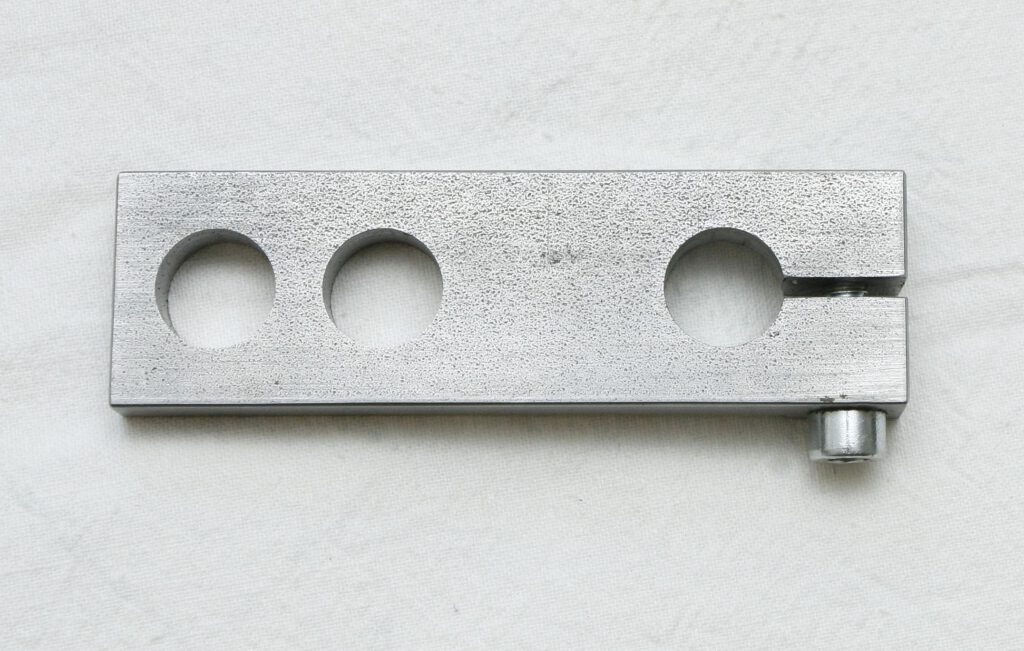
In der rechten Bohrung, wird die Lagermutter geklemmt, die beiden linken Bohrungen, dienen nur der Gewichtsersparnis. Mit der Schraube rechts unten, wird der Kopf der Lagerschraube, mit Hilfe eines Inbusschlüssels geklemmt. Bei diesem Werkzeug handelt es sich um meine erste Version, ich habe den Schlitz nach links noch etwas vergrößert, weil die Kräfte an der Inbusschraube, mir zu groß waren!
The bearing nut is clamped in the right-hand hole, the two left-hand holes are solely for weight reduction. The head of the bearing bolt is clamped in place with the screw at the bottom right using an Allen key. This tool is my first version, I enlarged the slot slightly to the left because the forces on the Allen screw were too great for me!
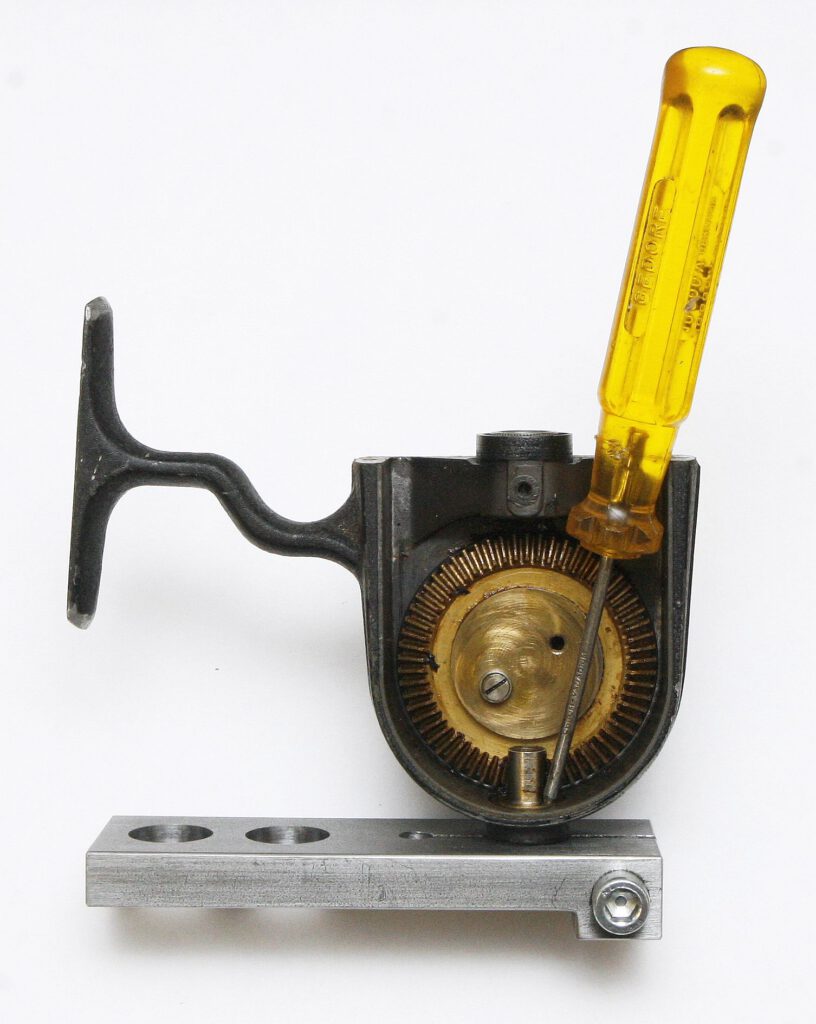
Am besten die Rolle soweit zerlegen, das ihr auch das Rotorblech, abnehmen könnt. So kann man die Gegenmutter am besten festhalten. Einfach die Lagerschraube mit der Inbusschraube, fest klemmen, die Mutter festhalten und heraus schrauben, Fertig!
Wichtig: Darauf achten das ihr nur die vernickelte Lagerschraube klemmt und nicht ausversehen, noch ein Teil des Gehäuses. Das führt dann leider meist zu Lackschäden!
It’s best to disassemble the reel enough to remove the rotor plate. This makes it easier to hold the locknut. Simply clamp the bearing screw with the Allen screw, hold the nut in place, and unscrew it. Done!
Important: Make sure you only clamp the nickel-plated bearing screw and not accidentally part of the housing as well. This usually leads to paint damage!
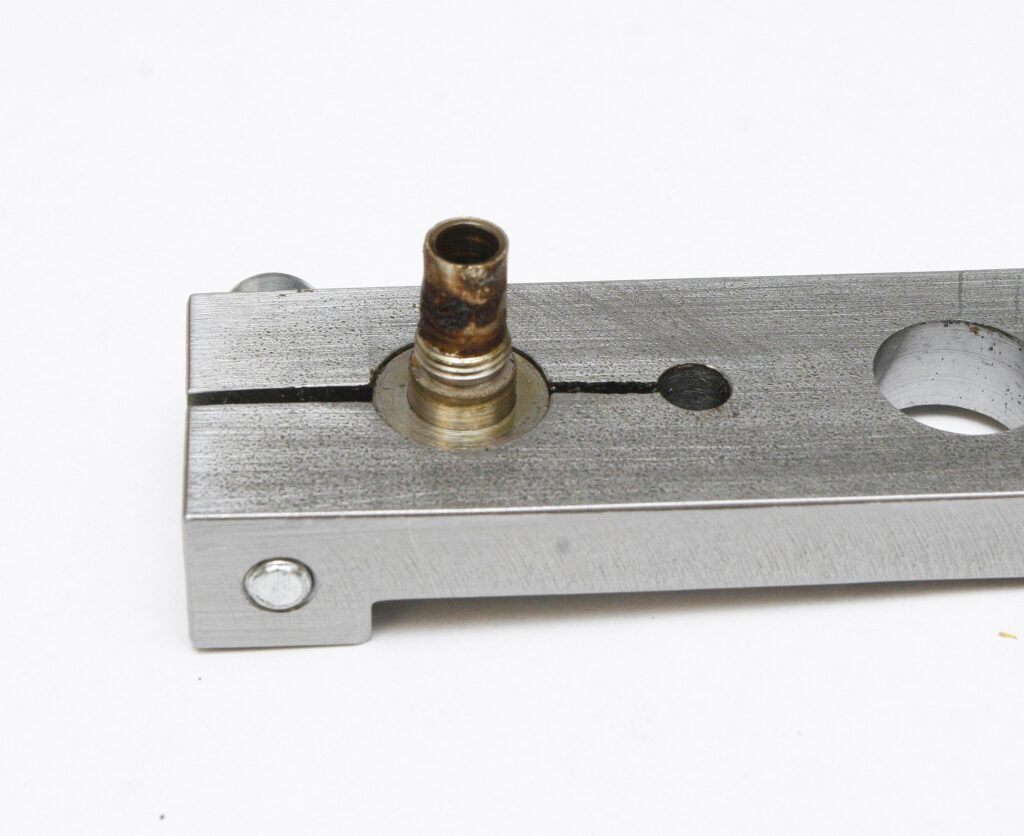
Hier sieht man diese Lagerschraube ist ca. 0.5mm zu tief geklemmt, das führt zu Lackschäden am Gehäuse!
Here you can see that this bearing screw is clamped about 0.5mm too deep, which leads to paint damage on the housing!
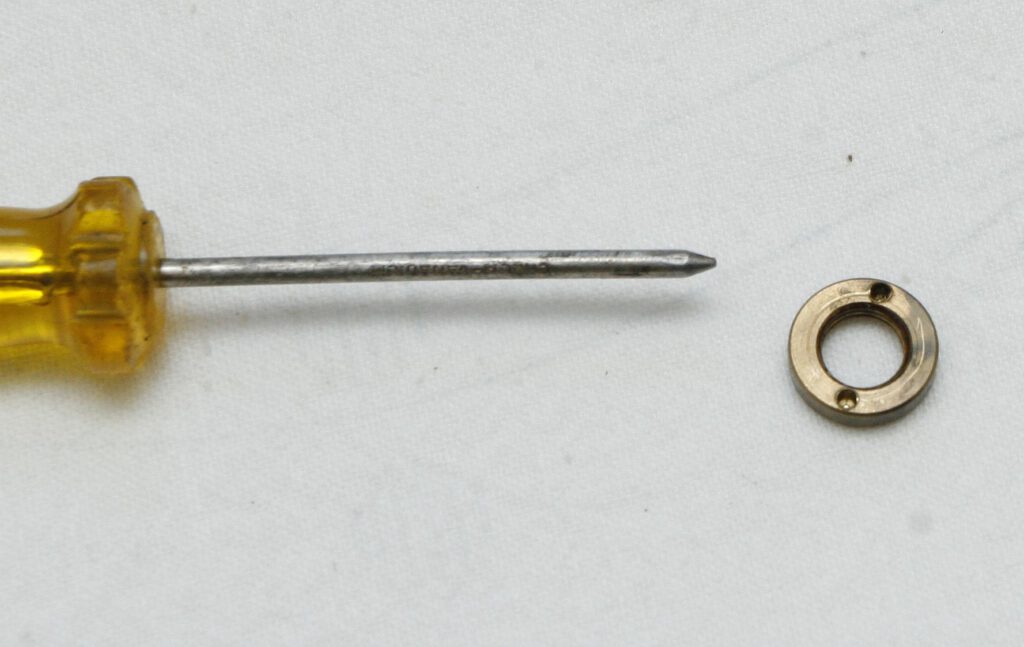
Rechts sieht man die Lochmutter der Lagerschraube. Leider lockert sich die Mutter auch manch mal, im normalen Gebrauch, daher bitte die Lagerschraube, von Zeit zu Zeit auf festen Sitz prüfen!
On the right you can see the nut of the bearing bolt. Unfortunately, the nut can sometimes loosen during normal use, so please check the bearing bolt for tightness from time to time!
Schreibe einen Kommentar